Program Arcade GamesWith Python And Pygame
Chapter 13: Introduction to Sprites
Our games need support for handling objects that collide. Balls bouncing off paddles, laser beams hitting aliens, or our favorite character collecting a coin. All these examples require collision detection.
The Pygame library has support for sprites.
A sprite is a two dimensional image that is part of the larger
graphical scene. Typically a sprite will be some kind of object
in the scene that will be interacted with like a car, frog,
or little plumber guy.
![]()
Originally, video game consoles had built-in hardware support for sprites. Now this specialized hardware support is no longer needed, but we still use the term “sprite.”
13.1 Basic Sprites and Collisions
Let's step through an example program that uses sprites.
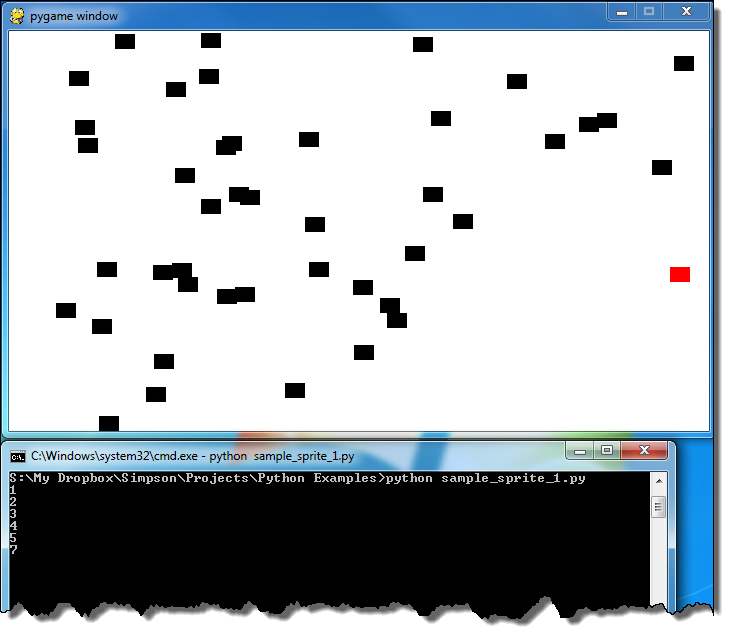
This example shows how to create a screen of black blocks, and collect
them using a red block controlled by the mouse
as shown in Figure 13.1.
The program keeps “score” on how many blocks have been collected.
The code for this example may be found at:
ProgramArcadeGames.com/python_examples/f.php?file=sprite_collect_blocks.py
The first few lines of our program start off like other games we've done:
import pygame
import random

# Define some colors
BLACK = (  0,   0,   0)
WHITE = (255, 255, 255)
RED   = (255,   0,   0)
The pygame library is imported for sprite support on line 1. The random library is imported for the random placement of blocks on line 2. The definition of colors is standard in lines 5-7; there is nothing new in this example yet.
class Block(pygame.sprite.Sprite):
    """
    This class represents the ball.
    It derives from the "Sprite" class in Pygame.
    """
Line 9 starts the definition of the Block class. Note that on line 9 this class is a child class of the Sprite class. The pygame.sprite. specifies the library and package, which will be discussed later in Chapter 14. All the default functionality of the Sprite class will now be a part of the Block class.
    def __init__(self, color, width, height):
        """ Constructor. Pass in the color of the block,
        and its x and y position. """

        # Call the parent class (Sprite) constructor
        super().__init__()
The constructor for the Block class on line 15 takes in a parameter for self just like any other constructor. It also takes in parameters that define the object's color, height, and width.
It is important to call the parent class constructor in Sprite to allow sprites to initialize. This is done on line 20.
        # Create an image of the block, and fill it with a color.
        # This could also be an image loaded from the disk.
        self.image = pygame.Surface([width, height])
        self.image.fill(color)
Lines 24 and 25 create the image that will eventually appear on the screen. Line 24 creates a blank image. Line 25 fills it with black. If the program needs something other than a black square, these are the lines of code to modify.
For example, look at the code below:
    def __init__(self, color, width, height):
        """
        Ellipse Constructor. Pass in the color of the ellipse,
        and its size
        """
        # Call the parent class (Sprite) constructor
        super().__init__()

        # Set the background color and set it to be transparent
        self.image = pygame.Surface([width, height])
        self.image.fill(WHITE)
        self.image.set_colorkey(WHITE)

        # Draw the ellipse
        pygame.draw.ellipse(self.image, color, [0, 0, width, height])
If the code above was substituted, then everything would be in the form of ellipses. Line 29 draws the ellipse and line 26 makes white a transparent color so the background shows up. This is the same concept used in Chapter 11 for making the white background of an image transparent.
    def __init__(self):
        """ Graphic Sprite Constructor. """

        # Call the parent class (Sprite) constructor
        super().__init__()

        # Load the image
        self.image = pygame.image.load("player.png").convert()

        # Set our transparent color
        self.image.set_colorkey(WHITE)
If instead a bit-mapped graphic is desired, substituting the lines of code above will load a graphic (line 22) and set white to the transparent background color (line 25). In this case, the dimensions of the sprite will automatically be set to the graphic dimensions, and it would no longer be necessary to pass them in. See how line 15 no longer has those parameters.
There is one more important line that we need in our constructor, no matter what kind of sprite we have:
        # Fetch the rectangle object that has the dimensions of the image
        # image.
        # Update the position of this object by setting the values
        # of rect.x and rect.y
        self.rect = self.image.get_rect()
The attribute rect is a variable that is an instance of the Rect class that Pygame provides. The rectangle represents the dimensions of the sprite. This rectangle class has attributes for x and y that may be set. Pygame will draw the sprite where the x and y attributes are. So to move this sprite, a programmer needs to set mySpriteRef.rect.x and mySpriteRef.rect.y where mySpriteRef is the variable that points to the sprite.
We are done with the Block class. Time to move on to the initialization code.
# Initialize Pygame
pygame.init()

# Set the height and width of the screen
screen_width = 700
screen_height = 400
screen = pygame.display.set_mode([screen_width, screen_height])
The code above initializes Pygame and creates a window for the game. There is nothing new here from other Pygame programs.
# This is a list of 'sprites.' Each block in the program is
# added to this list.
# The list is managed by a class called 'Group.'
block_list = pygame.sprite.Group()

# This is a list of every sprite.
# All blocks and the player block as well.
all_sprites_list = pygame.sprite.Group()
A major advantage of working with sprites is the ability to work with them in groups. We can draw and move all the sprites with one command if they are in a group. We can also check for sprite collisions against an entire group.
The above code creates two lists. The variable all_sprites_list will contain every sprite in the game. This list will be used to draw all the sprites. The variable block_list holds each object that the player can collide with. In this example it will include every object in the game but the player. We don't want the player in this list because when we check for the player colliding with objects in the block_list, Pygame will go ahead and always return the player as colliding if it is part of that list.
for i in range(50):
    # This represents a block
    block = Block(BLACK, 20, 15)

    # Set a random location for the block
    block.rect.x = random.randrange(screen_width)
    block.rect.y = random.randrange(screen_height)

    # Add the block to the list of objects
    block_list.add(block)
    all_sprites_list.add(block)
The loop starting on line 49 adds 50 black sprite blocks to the screen. Line 51 creates a new block, sets the color, the width, and the height. Lines 54 and 55 set the coordinates for where this object will appear. Line 58 adds the block to the list of blocks the player can collide with. Line 59 adds it to the list of all blocks. This should be very similar to the code you wrote back in Lab 13.
# Create a RED player block
player = Block(RED, 20, 15)
all_sprites_list.add(player)
Lines 61-63 set up the player for our game. Line 62 creates a red block that will eventually function as the player. This block is added to the all_sprites_list in line 63 so it can be drawn, but not the block_list.
# Loop until the user clicks the close button.
done = False

# Used to manage how fast the screen updates
clock = pygame.time.Clock()

score = 0

# -------- Main Program Loop -----------
while not done:
    for event in pygame.event.get():
        if event.type == pygame.QUIT:
            done = True

    # Clear the screen
    screen.fill(WHITE)
The code above is a standard program loop first introduced back in Chapter 5. Line 71 initializes our score variable to 0.
    # Get the current mouse position. This returns the position
    # as a list of two numbers.
    pos = pygame.mouse.get_pos()

    # Fetch the x and y out of the list,
    # just like we'd fetch letters out of a string.
    # Set the player object to the mouse location
    player.rect.x = pos[0]
    player.rect.y = pos[1]
Line 84 fetches the mouse position similar to other Pygame programs discussed before. The important new part is contained in lines 89-90 where the rectangle containing the sprite is moved to a new location. Remember this rect was created back on line 31 and this code won't work without that line.
    # See if the player block has collided with anything.
    blocks_hit_list = pygame.sprite.spritecollide(player, block_list, True)
This line of code takes the sprite referenced by player and checks it against all sprites in block_list. The code returns a list of sprites that overlap. If there are no overlapping sprites, it returns an empty list. The boolean True will remove the colliding sprites from the list. If it is set to False the sprites will not be removed.
    # Check the list of collisions.
    for block in blocks_hit_list:
        score +=1
        print(score)
This loops for each sprite in the collision list created back in line 93. If there are sprites in that list, increase the score for each collision. Then print the score to the screen. Note that the print on line 98 will not print the score to the main window with the sprites, but the console window instead. Figuring out how to make the score display on the main window is part of Lab 14.
    # Draw all the spites
    all_sprites_list.draw(screen)
The Group class that all_sprites_list is a member of has a method called draw. This method loops through each sprite in the list and calls that sprite's draw method. This means that with only one line of code, a program can cause every sprite in the all_sprites_list to draw.
    # Limit to 60 frames per second
    clock.tick(60)

    # Go ahead and update the screen with what we've drawn.
    pygame.display.flip()

pygame.quit()
Lines 103-109 flips the screen, and calls the quit method when the main loop is done.
13.2 Moving Sprites
In the example so far, only the player sprite moves. How could a program cause all the sprites to move? This can be done easily; just two steps are required.
The first step is to add a new method to the Block class. This new method is called update. The update function will be called automatically when update is called for the entire list.
Put this in the sprite:
    def update(self):
        """ Called each frame. """

        # Move block down one pixel
        self.rect.y += 1
Put this in the main program loop:
    # Call the update() method for all blocks in the block_list
    block_list.update()
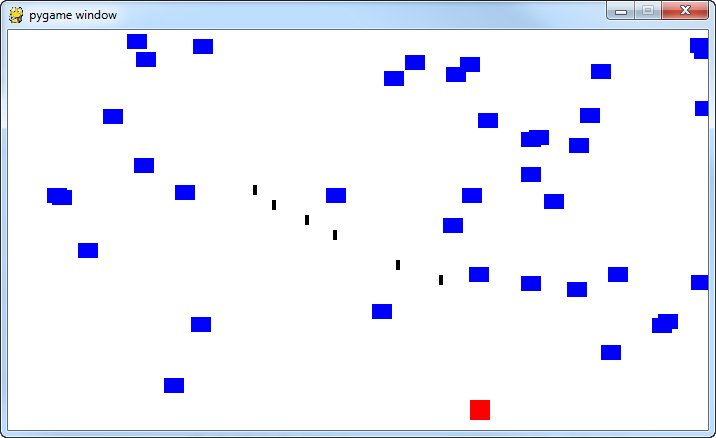
The code isn't perfect because the blocks fall off the screen and do not reappear. This code will improve the update function so that the blocks will reappear up top.
    def update(self):
        # Move the block down one pixel
        self.rect.y += 1
        if self.rect.y > screen_height:
			self.rect.y = random.randrange(-100, -10)
			self.rect.x = random.randrange(0, screen_width)
If the program should reset blocks that are collected to the top of the screen, the sprite can be changed with the following code:
    def reset_pos(self):
        """ Reset position to the top of the screen, at a random x location.
        Called by update() or the main program loop if there is a collision.
        """
        self.rect.y = random.randrange(-300, -20)
        self.rect.x = random.randrange(0, screen_width)

    def update(self):
        """ Called each frame. """

        # Move block down one pixel
        self.rect.y += 1

        # If block is too far down, reset to top of screen.
        if self.rect.y > 410:
            self.reset_pos()
Rather than destroying the blocks when the collision occurs, the program may instead call the reset_pos function and the block will move to the top of the screen ready to be collected.
    # See if the player block has collided with anything.
    blocks_hit_list = pygame.sprite.spritecollide(player, block_list, False)

    # Check the list of collisions.
    for block in blocks_hit_list:
        score += 1
        print(score)

        # Reset block to the top of the screen to fall again.
        block.reset_pos()
The full code for this example is here:
ProgramArcadeGames.com/python_examples/f.php?file=moving_sprites.py
If you'd rather see code for sprites that bounce, look here:
ProgramArcadeGames.com/python_examples/f.php?file=moving_sprites_bounce.py
If you want them to move in circles:
ProgramArcadeGames.com/python_examples/f.php?file=sprite_circle_movement.py
13.3 The Game Class
Back in Chapter 9 we introduced functions. At the end of the chapter we talked about an option to use a main function. As programs get large this technique helps us avoid problems that can come from having a lot of code to sort through. Our programs aren't quite that large yet. However I know some people like to organize things properly from the start.
For those people in that camp, here's another optional technique to organize your code.
(If you aren't in that camp, you can skip this section and circle back later when
your programs get too large.)
Watch the video to get an idea of how the program works.
ProgramArcadeGames.com/python_examples/f.php?file=game_class_example.py
13.4 Other Examples
Here are several other examples of what you can do with sprites. A few of these also include a linked video that explains how the code works.
13.4.1 Shooting things
Interested in a shoot-em-up game? Something like the classic Space Invaders?
This example shows how to create sprites to represent bullets:
ProgramArcadeGames.com/python_examples/f.php?file=bullets.py
13.4.2 Walls
Are you looking for more of an adventure games? You don't want your player to wander all over the place?
This shows how to add walls that prevent player movement:
ProgramArcadeGames.com/python_examples/f.php?file=move_with_walls_example.py

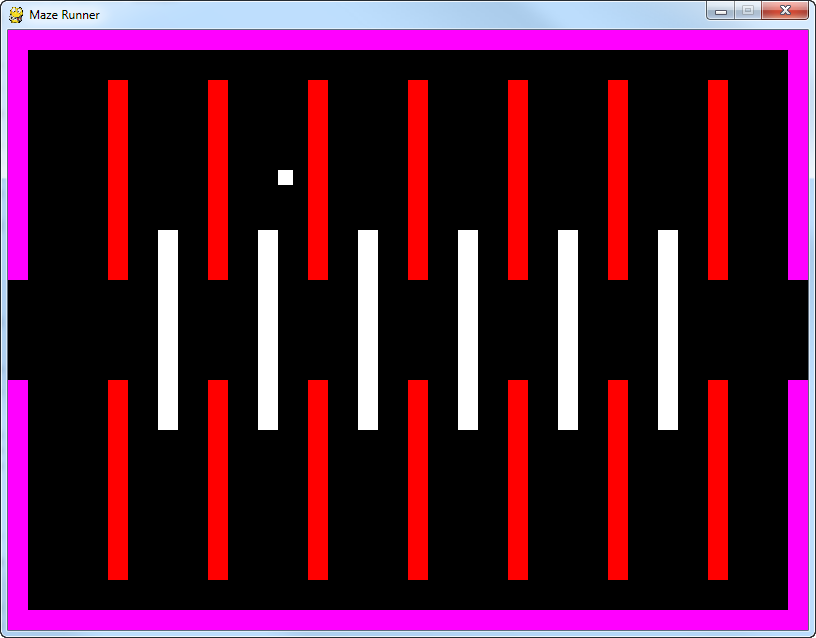
Wait? One room isn't enough of an adventure? You want your player to move
from screen to screen? We can do that! Look through this example where the player
may run through a multi-room maze:
ProgramArcadeGames.com/python_examples/f.php?file=maze_runner.py
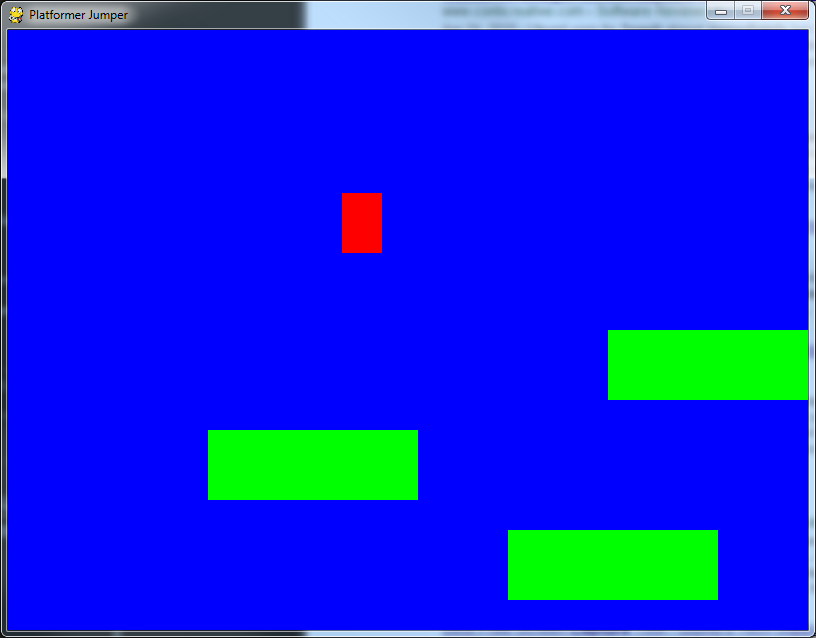
13.4.3 Platforms
Interested in creating a platformer, like Donkey Kong? We need to use the same
idea as our example with walls, but add some gravity:
ProgramArcadeGames.com/python_examples/f.php?file=platform_jumper.py
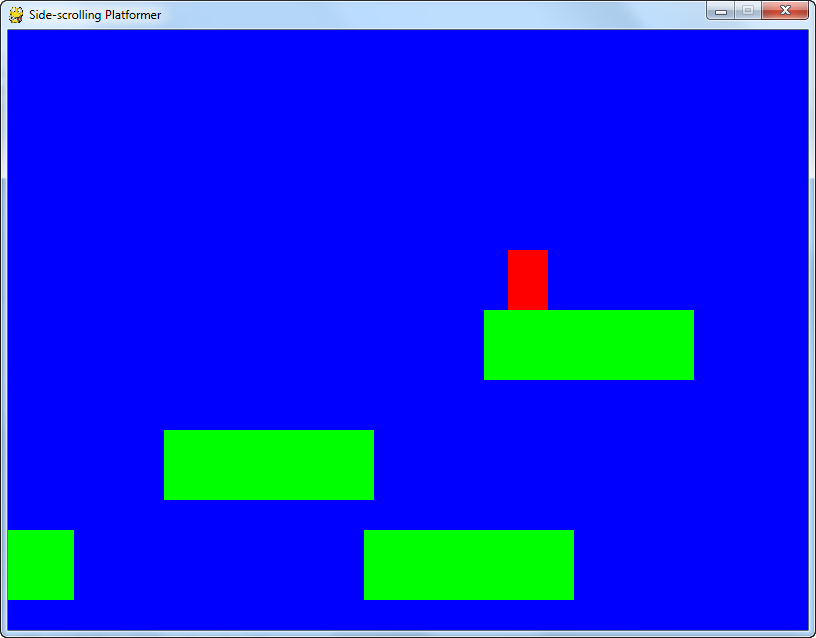
Good platformers can move side to side. This is a side scrolling platformer:
ProgramArcadeGames.com/python_examples/f.php?file=platform_scroller.py
Even cooler platform games have platforms that move! See how that is done with this example:
ProgramArcadeGames.com/python_examples/f.php?file=platform_moving.py
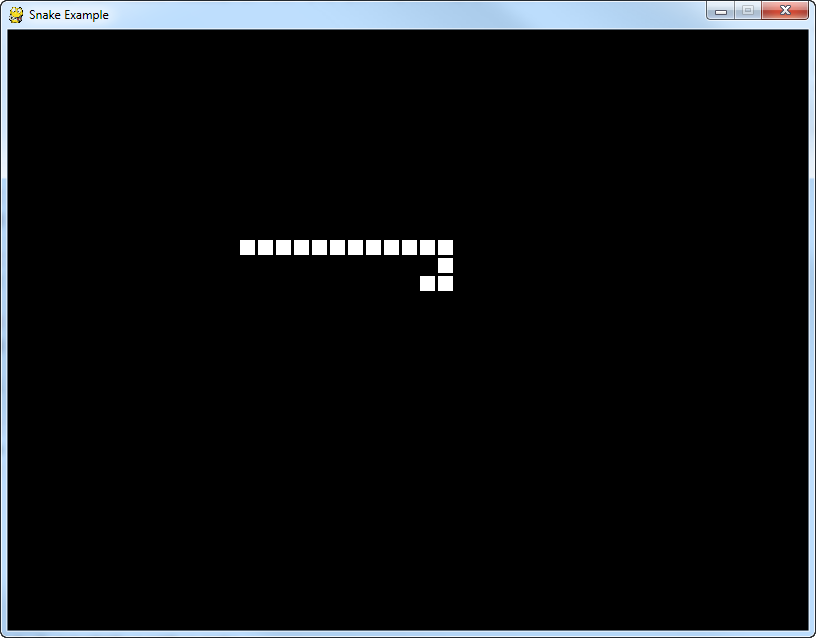
13.4.4 Snake/Centipede
I have occasionally get students that want to make a “snake” or “centipede” type of game. You have a multi-segment snake that you can control. This requires each segment to be held in a list. While it requires learning two new commands, the concept behind how to do this game isn't difficult.
Control a snake or centipede going around the screen:
ProgramArcadeGames.com/python_examples/f.php?file=snake.py
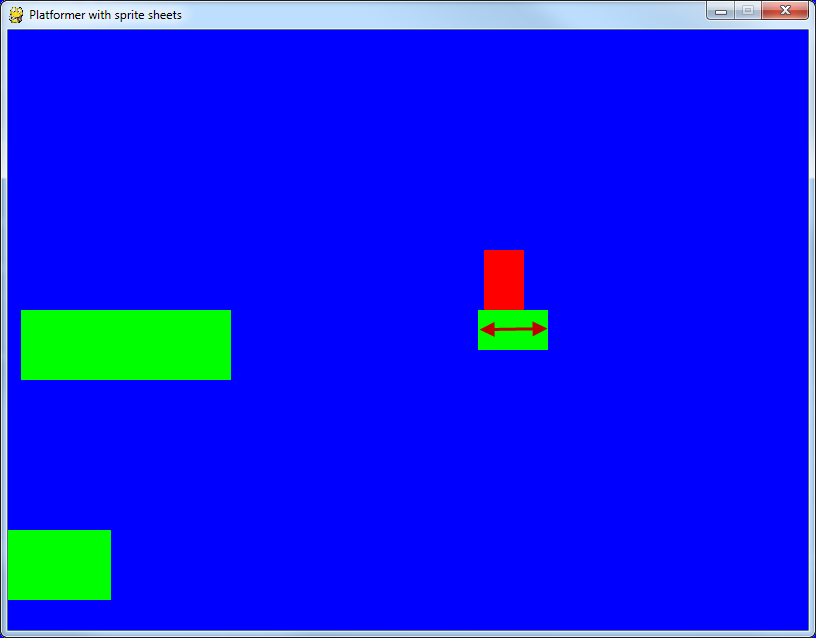
13.4.5 Using Sprite Sheets
This is an extensive example that uses “sprite sheets” to provide the graphics
behind a platformer game. It supports multiple levels and moving platforms as well.
The game is broken into multiple files.
ProgramArcadeGames.com/python_examples/en/sprite_sheets
![]()
13.4.6 Multiple Choice Quiz
Click here for a multiple-choice quiz.
13.4.7 Short Answer Worksheet
There is no worksheet for this chapter.
13.4.8 Lab
Click here for the chapter lab.
English version by Paul Vincent Craven
Spanish version by Antonio Rodríguez Verdugo
Russian version by Vladimir Slav
Turkish version by Güray Yildirim
Portuguese version by Armando Marques Sobrinho and Tati Carvalho
Dutch version by Frank Waegeman
Hungarian version by Nagy Attila
Finnish version by Jouko Järvenpää
French version by Franco Rossi
Korean version by Kim Zeung-Il
Chinese version by Kai Lin